How We Fix Horseshoe Driveway Island Drainage & Erosion
Horseshoe driveway island washing out in heavy rains? Learn practical grading, drainage, and planting fixes that stop erosion without rebuilding your whole driveway.
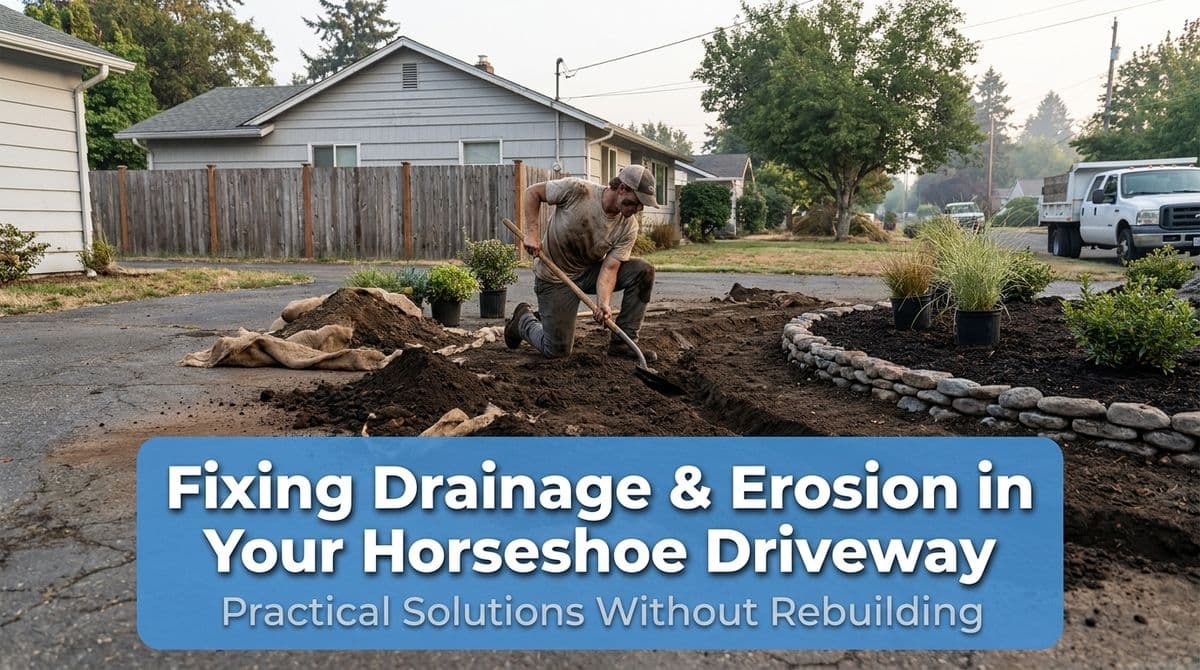
When Your Horseshoe Driveway Island Turns Into a River
We recently got a call from a homeowner — let’s call him Tom — who’s lived on his property for over 30 years. He’s got one of those classic long, horseshoe-shaped driveways with a big island in the middle. Over time, that island turned into a problem area.
Every time it rained hard, all the water from both sides of the driveway rushed across the downslope island. Tom described it perfectly: “It’s like a river going across there.” Grass wouldn’t stay, mulch washed away, and the area looked rough for much of the year.
Tom had already removed a few older trees to get more sun in there, moved a lot of dirt on his own over the years, and was getting tired of the constant battle. He didn’t want to rebuild the whole driveway — just fix the water and erosion problem without breaking the bank.
This is a common situation, and the good news is: in many cases, you can fix drainage and erosion in a horseshoe driveway island with smart grading, plant choices, and a few targeted drainage solutions — not a full reconstruction.
Step 1: Read the Water Before You Grab a Shovel
Watch What Happens in a Heavy Rain
When we met Tom on site, the first thing we did was look for the story the water was telling. You can do the same at your place:
- Go out during or right after a good rain (safely) and watch where the water flows.
- Look for channels or ruts where the water is consistently carving a path.
- Note any standing water that lingers longer than a day.
- Check where water is coming off the driveway edges the fastest.
Tom’s main issue was that the whole 300-foot horseshoe funneled water into the lowest parts of the island, concentrating the flow into a few deep runnels.
Check Slope and Low Spots
Next, grab a long straight board (like a 2x4) and a level, or even just walk the area and pay attention to where your feet sink. You’re trying to identify:
- High spots that could redirect water better if tweaked.
- Low spots that collect water and never seem to dry.
- Any areas where water is aiming straight for your house, garage, or walkways.
You don’t need to be an engineer — just get a sense of the general direction and volume of water. That will guide everything else you do.
Step 2: Regrade and Reshape (Without Rebuilding)
Create Gentle Swales, Not Walls
Tom had already “moved enough dirt,” as he put it, so our goal was to fine-tune rather than start from scratch. In many horseshoe driveways, you can do a lot with light regrading inside the island:
- Use a shovel or skid steer (if you’re comfortable) to make very shallow swales (ditches) that guide water where you want it.
- Aim these swales to safe outlets: a street, existing drain, or lower lawn area that can handle moisture.
- Avoid creating steep banks; keep slopes gentle so they’re easier to mow and less likely to erode.
For Tom, that meant a bit of re-shaping so the water didn’t race straight across the middle, but instead slowed and spread out before leaving the island.
Feather the Edges of the Driveway
Another simple but effective trick is to adjust the soil right where water leaves the pavement:
- Build up low spots along the inside edge of the driveway with compacted topsoil.
- Feather that soil out into the island so water doesn’t drop off a “cliff” and start cutting channels.
- Keep the soil slightly below the top of the driveway so water still sheds off the pavement, just more gently.
This kind of detail work is where a lot of homeowners, like Tom, get tired of “moving dirt.” If that’s you, this is a great step to have a crew come in and knock out in a day.
Step 3: Add Drainage Where Gravity Needs Help
Rock Channels and Dry Creeks
Once you’ve shaped the land, you can give water a durable path to follow. Some options we often recommend in horseshoe islands:
- Rock-lined channels: Dig a shallow trench where water naturally wants to run, line it with landscape fabric, and fill with river rock. This slows water and prevents erosion.
- Dry creek beds: Similar idea, but wider and more decorative, weaving through the island with varying sizes of stone.
For Tom, a subtle rock channel through the worst “river” section would both look nice and protect the soil during those heavy rains he was worried about.
French Drains and Catch Basins
If your island is really taking a beating, or if there’s nowhere safe to send surface water, you may need something a bit more engineered:
- French drains: A perforated pipe wrapped in fabric and gravel, buried in a trench to collect water and carry it away underground.
- Catch basins: Grated inlets set at low points to capture large volumes of water quickly and connect to drain pipe.
These systems should be planned carefully so the outlet doesn’t create a new problem down the line. We walk homeowners through code requirements and realistic discharge locations before installing anything like this.
Step 4: Use the Right Plants to Slow and Absorb Water
Choose Deep-Rooted, Tough Species
Tom mentioned that he relied on his perennials to help slow the water once they leafed out. That’s exactly the right idea — you just need the right plants for the job. Look for:
- Deep-rooted native grasses that knit the soil together.
- Groundcovers that can handle occasional flooding and drying out.
- Perennials and shrubs that don’t mind “wet feet” during storms.
Even if you like a more formal look, you can often tuck tougher species into the heaviest flow zones and use more ornamental plants on the higher, drier parts of the island.
Layer Mulch and Fabric Strategically
Once your plants are in, don’t leave bare soil exposed:
- Use a coarse shredded mulch that interlocks and is less likely to float away than chips or nuggets.
- On the steepest spots, consider a biodegradable erosion control blanket over seed or small plugs until they’re established.
- Avoid solid plastic sheeting; it sheds water and can actually make erosion worse.
With Tom, we talked about beefing up his planting density in the trouble spots so he’s not relying on a few lonely plants to do all the work.
Step 5: Balance Shade, Sun, and Maintenance
After Tree Removal: Don’t Rush to Replant
Tom had already taken out some older trees to let more light in. That’s often a good move in shady horseshoe islands where grass is struggling, but it changes how the area drains and dries. Our usual advice:
- Wait a season after major tree removal to really see how sun and water patterns change.
- Use that time to tune your grading and drainage first.
- Then choose plants that match the new light conditions, not the old ones.
In Tom’s case, the extra sun opened the door for sturdier turf or low-growing groundcovers in places where only moss and weeds had survived before.
Plan for What You Can Realistically Maintain
A 300-foot horseshoe island is a lot of area to care for. When we design fixes, we always ask homeowners how much time and energy they want to spend on maintenance:
- If you’re like Tom and “getting tired of moving dirt,” lean toward low-maintenance plantings and durable rock features.
- Keep mowing practical — avoid super steep slopes and awkward little patches of turf.
- Choose fewer plant varieties in larger groups for easier weeding and care.
The best drainage solution is one you can actually keep up with five or ten years down the road.
When to Call in a Pro for Your Horseshoe Driveway Island
Signs You Should Get Some Help
There’s a lot homeowners can do themselves, but like Tom, many people hit a point where they want it “done right” without endless trial and error. Consider bringing in a professional if:
- You have significant erosion that’s getting worse each year.
- Water is threatening your foundation, garage, or septic system.
- You’re dealing with very heavy runoff from a long driveway or steep slope.
- You’ve already tried DIY grading or plantings and they haven’t held.
What We Typically Do on a Visit
When we come out to look at a horseshoe driveway island, we’ll typically:
- Walk the entire loop and map how water moves in and out of the island.
- Check slopes, soil type, and existing plant health.
- Talk through your budget and how much you want to tackle yourself versus hire out.
- Put together a phased plan so you can fix the worst problems first and add upgrades over time.
That’s exactly what we did with Tom — no pressure to rebuild anything, just practical steps to calm down that “river” and make his island something he could enjoy again, instead of dread every time it rained.
If your horseshoe driveway island is washing out or refusing to grow anything, you’re not stuck with it. With some smart grading, the right drainage tools, and tough, well-placed plants, you can turn that problem patch into a stable, attractive part of your landscape — without tearing up the whole driveway.